Creating a Simple Calendar via DAX for Power BI
March 2, 2021Welcome back folks! You may have noticed I haven’t posted in a while and all my previous content is gone. This is a blessing and sore spot with me as I made the terrible mistake of not following the tried and true backup your stuff before you update anything! That goes for WordPress also. Long story short I attempted an update and it got hosed up and thus all my previous content was essentially gone. This isn’t a big deal as when I made the migration to hosting via Digital Ocean some years back I actually lost like 3/4 of my screen captures because I didn’t realize they were hosted on WordPress.com like an idiot. So it’s been a learning experience.
So I wanted to get back to my blog in 2021 as a ton of things have changed so ideally it worked out well for me. So to see how the landscape has changed I decided to start with a simple first new post. Creating a simple calendar table via DAX for use in Power BI.
Lets Get Started
A date table in Power BI is actually a pretty simple thing to create and while this probably isn’t the most efficient method of producing one I find it works in a pinch.
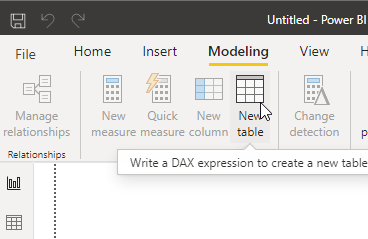
1. Open Power BI and click the Modeling Tab in the ribbon.
2. Click on the option for New Table as shown below.
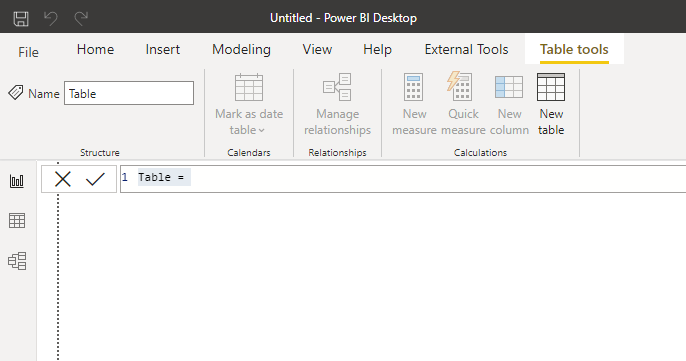
3. When you click on New Table you should be brought to an area where you can name your table. In this example we will simply call our table Date Table. Replace the Table = with Date Table as shown in the second screen capture. Then click on the checkmark.
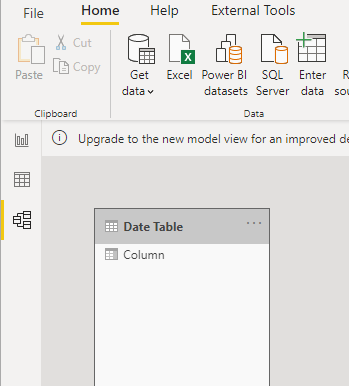
4. Once you have done that click into the Model button on the left hand side. When you have done that you should be presented with a screen similar to that below.
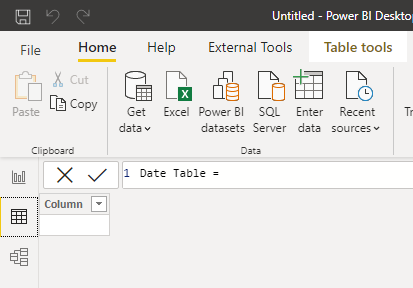
5. The next thing we want to do is click on the DATA icon on the left side navigation bar which is right above the Model icon.
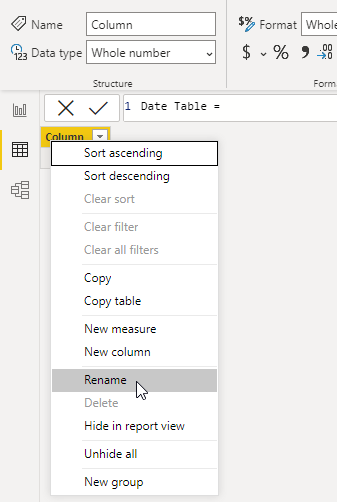
6. Once on the data tab the first thing we want to knock out is giving the generic Column name a name that is useful. To complete this simply right click on the column and select rename. I opted to call mine FullDate.

7. With the table created and column renamed it’s time to actually add some dates! In this example we will use the simple CALENDAR DAX logic which you can read about directly from Microsoft by clicking HERE.
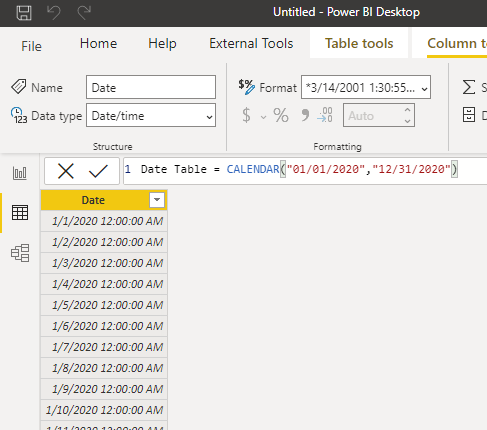
8. With the column still selected you will want to enter the following DAX into the formula bar.

The first date represents the start of your calendar and the second date is the ending period. In the above example we can see that we start January 1, 2020 and on December 31st 2020. When you have your date ranges entered in simply hit enter.
9. The end result should be a singular column table with all the dates for 2020 as shown below.
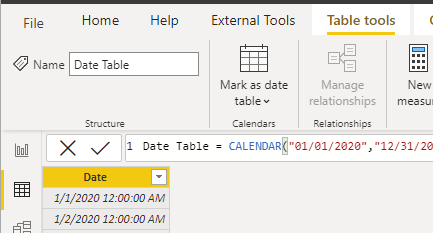
10. Once this is completed the next step is to click on Table tools in the menu options in Power BI. When you click on this you have the option to set this table as the default date table in Power BI. Simply click on the Mark as date table button.
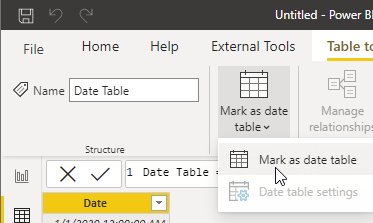
11. When you click that button you are shown a selection screen as below. This screen wants to know which column in your table will be the date column used for objects in your model.
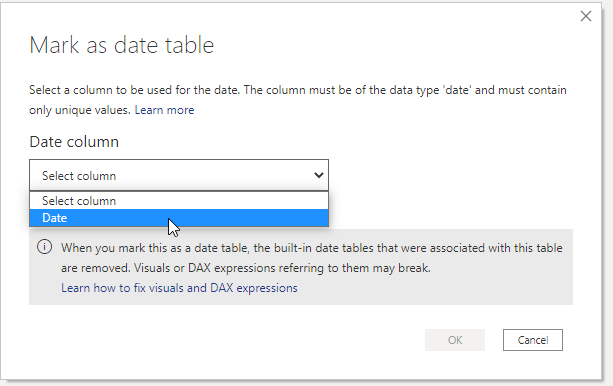
Once you select the Date column you may click on OK.
Summary
This is a quick and dirty way to get a date table into your model. I know this is not the most efficient or the fastest method for dealing with dates in Power BI but it does help out in a pinch!