SSMS Flat File Import
March 7, 2021One of my big goals this year is to increase my knowledge of DAX and Power BI. While I appreciate there are several datasets out there for training sometimes you just want something simple that doesn’t revolve around sales data.
To help satisfy this request I turned to the Oklahoma Mesonet to generate a report that provides me the high and low temperatures from the Norman Mesonet station for 2009 – 2019. You may use this link to generate sample data of your own.
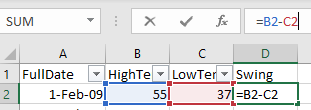
The data produced was returned to a static webpage and I simply copied the data from the table and pasted into my Excel document as shown below.

When the data was pasted I did have to clean up the data a little bit. There are days that either a high or low temp was missing and was displayed with N/A. I simply did a find and replace changing N/A values to blanks. The reasoning here is that as we are dealing with temperature data placing a 0 as a value would skew my data as 0 is a valid temperature. The next thing I did to the data was to add a 3rd column titled Swing which simply calculates the difference between the highs and lows.
With the data cleanup done I simply exported this from Excel as a .CSV file and saved it to the desktop.
Importing Into SQL vis SSMS
In my SQL environment I have a database that I call Training which simply holds various tables for a number of different things. I won’t dive into the details of creating the database as that process is well documented across the Internet. With our data ready for import let us get started.
- Open SSMS and expand the database you want to import your data into.
- Right-click the database select Task and then Import Flat File
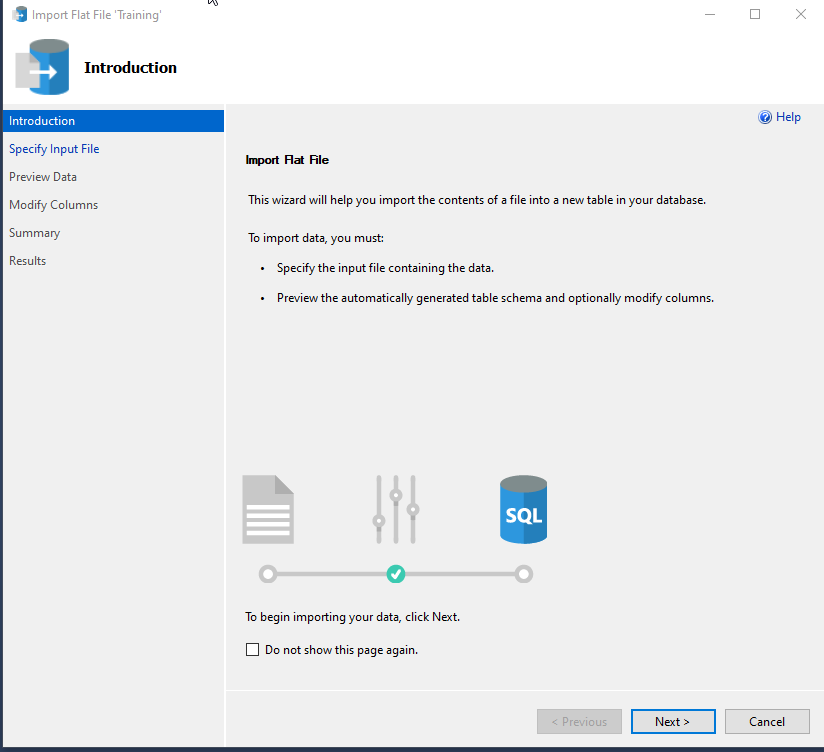
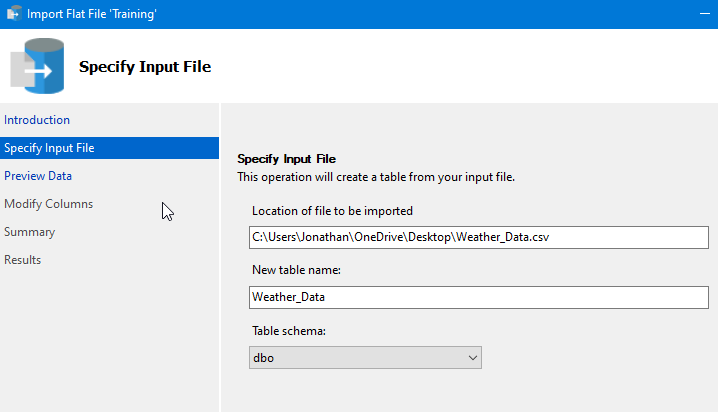
The first thing we need to do is specify what file we are importing and what table and schema will be used. Recall earlier I did not create the table beforehand as it will be created during this process. Once you have this information entered click Next.
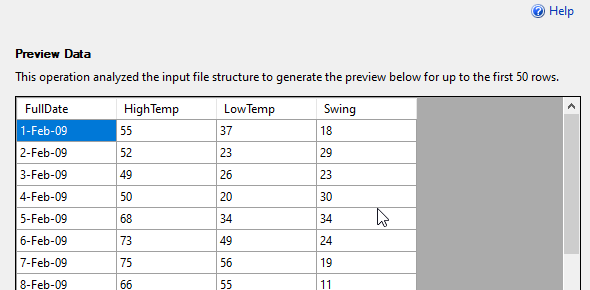
The next step in this process is to examine what the data will look like in the table. If you find the data doesn’t display as you expected then you will need to go back to Excel and modify your data and try the import process again.
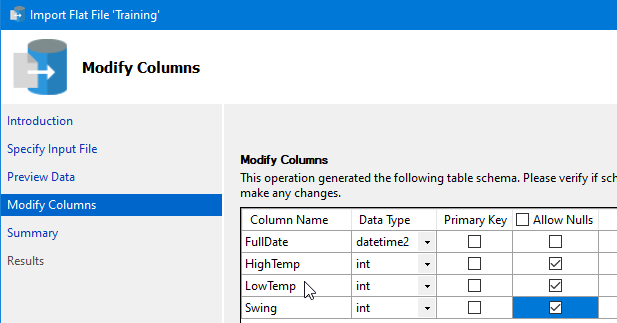
Next up we get to specify information about the columns that will be created in our table. Regarding our data, I’m not going to specify a PK but I do know that I have blank values in my data so we are going to click on Allow Nulls for our three data columns.
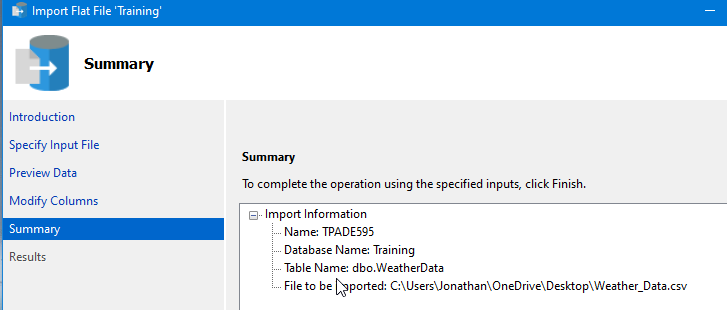
The next screen is simply a summary page. Click on Finish.
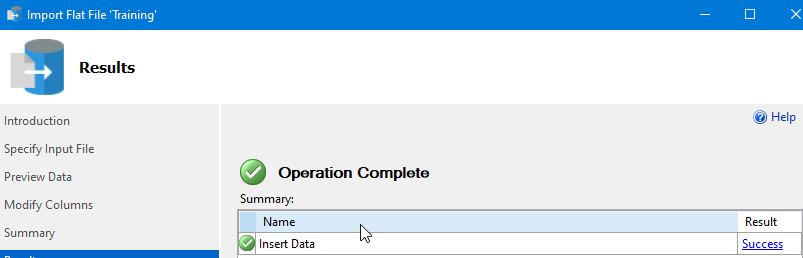
Once the import has executed you will be greeted with a results page. If all went well you should see the screen below.
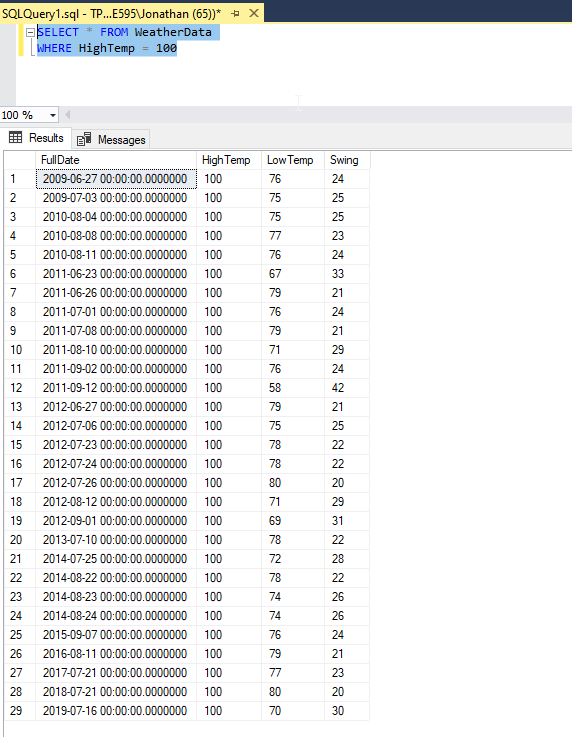
Now we are free to query our freshly imported data. In my sample query I simply wanted to see all the rows where the HighTemp was 100 degrees.
SELECT * FROM WeatherData
WHERE HighTemp = 100