Adding Custom Fonts In Power BI
April 12, 2021Power BI offers a wide variety in terms of styling a report but I have found there are some instances where you might want to utilize a font that isn’t included in the default font offerings. No worries it’s actually a pretty simple thing to do and in this post I’ll walk you through the steps needed.
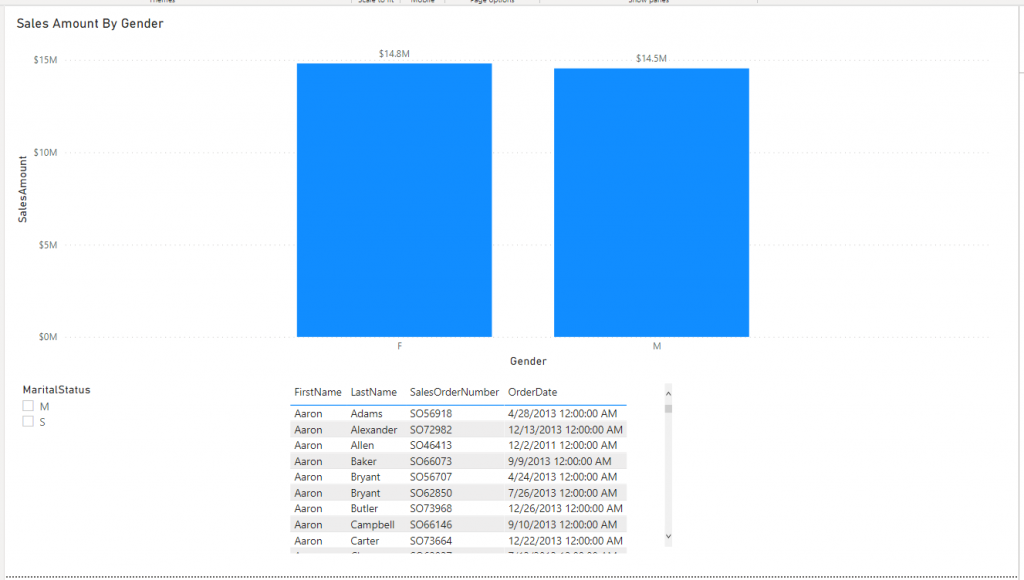
The Report
The report I’ve built is based on data from the Adventure Works 2019 Data Warehouse which you can obtain by clicking here.
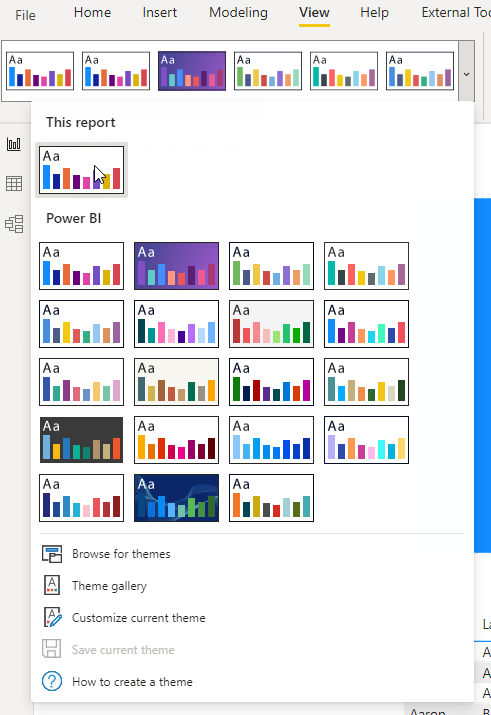
The first thing we are going to do is simply select a theme from the default themes in Power BI. To do that click on the View tab and then chose a theme of your liking. For my example, I’m using the default theme.
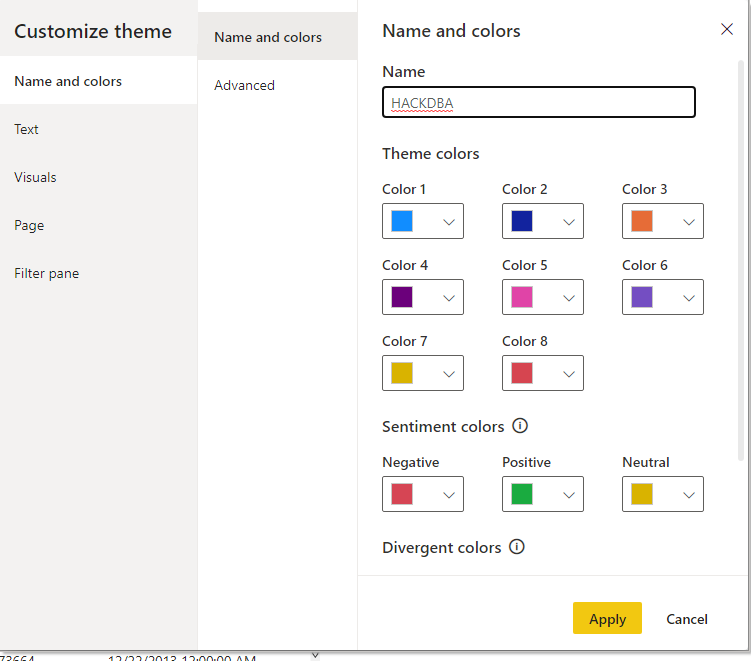
Next, we will want to save this theme so that we can add in the code we need to include our custom font. In the same area, you chose the option to Customize current theme. In the Customize Theme window give your theme a name as shown below and then click on Apply.
Once you hit the apply button you now have the option for saving your theme.
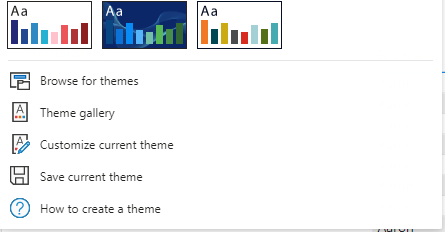
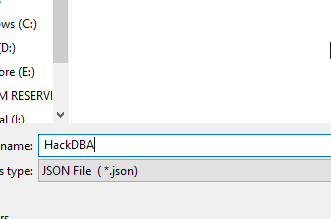
When you save your theme you will be prompted on where to save the file. For ease of this post I chose Desktop.
With the theme saved, we will want to open the document using the editor of your liking. I will be using Visual Studio Code. To add the custom font you need to add a single line of code to the theme file.
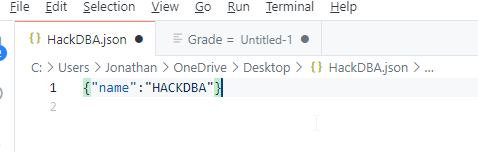
Below is the code that you can copy and paste into your theme.
{"name":"HACKDBA",
    "visualStyles":{"*":{"*":{"*":[{"fontSize":12,"fontFamily":"Roboto","color":{"solid":{}}}]}}}
}
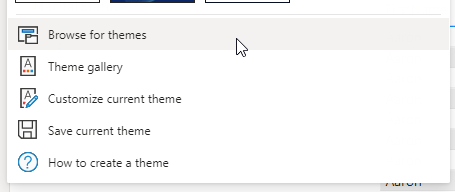
When you have pasted the code save the file in your editor. Then hop back over to Power BI and click on View and select the option for Browse For Themes. You will want to select the file you just edited and saved in the above steps.
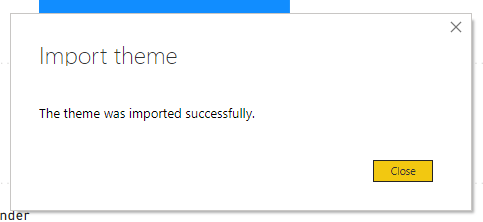
If your code is correct you should be greeted with a message saying that the theme was successfully imported into your file.
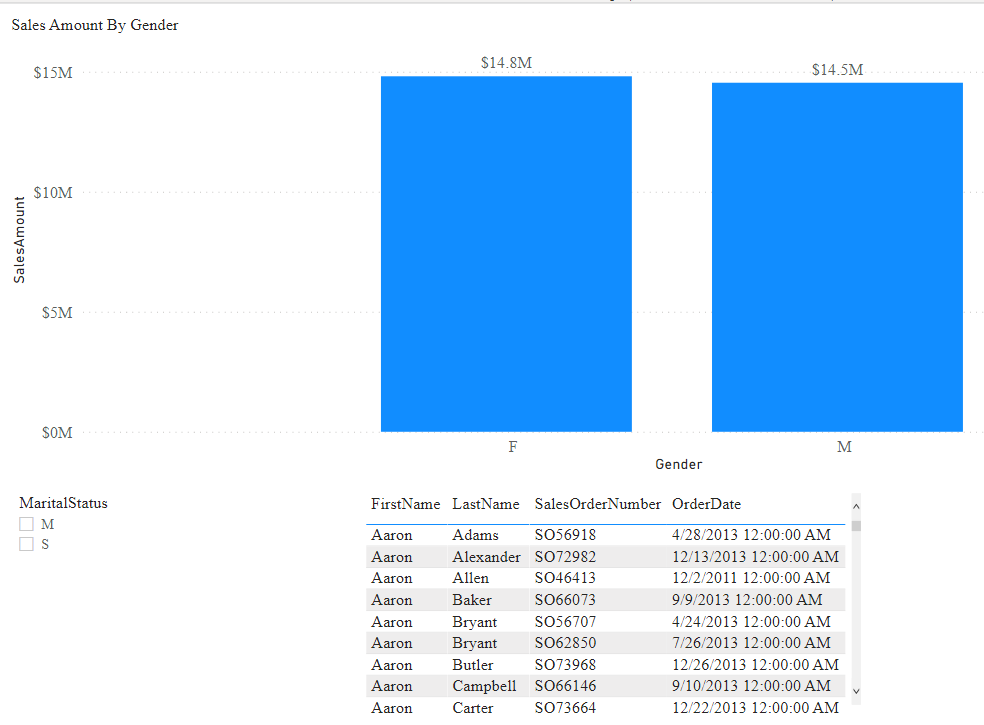
The Results
As you can see below the fonts in our report have all changed to use the font we specified in our theme.
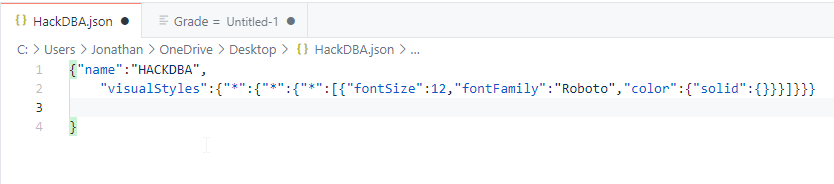
One thing I noted was that I can actually use more than one custom font. If you want to go that route then all you need to do is copy and paste below and add your font names. If you want more you can simply copy and paste the section shown in the image below. You will want to place a to separate out the fonts.
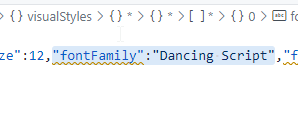
{"name":"HACKDBA",
    "visualStyles":{"*":{"*":{"*":[{"fontSize":12,"fontFamily":"Dancing Script","fontFamily":"Roboto","color":{"solid":{}}}]}}}
}